gardening
It’s Starting…
Planning for the 2016 garden has begun. This year will be a little complicated because we’re planning to move this summer once we buy a house somewhere in Northern VA. Since the exact dates are still unknown, I started seedlings a little early this year so that the main crops would be ready in June to July.
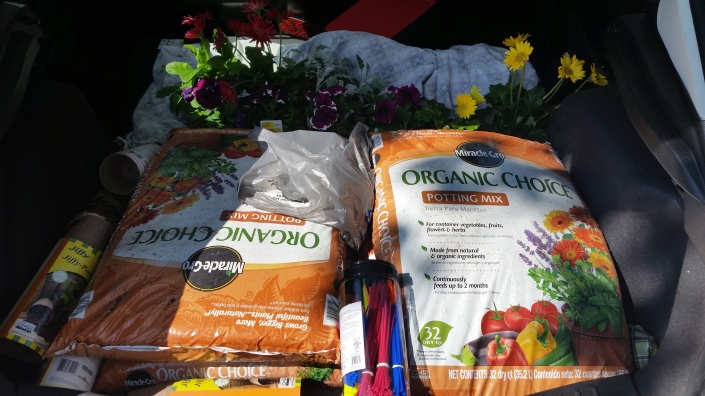
First step: Off to Lowe’s for some potting soil, Jiffy pots and other supplies. I went with Jiffy pots for seedlings this year so I can just plant the whole pot in the ground.
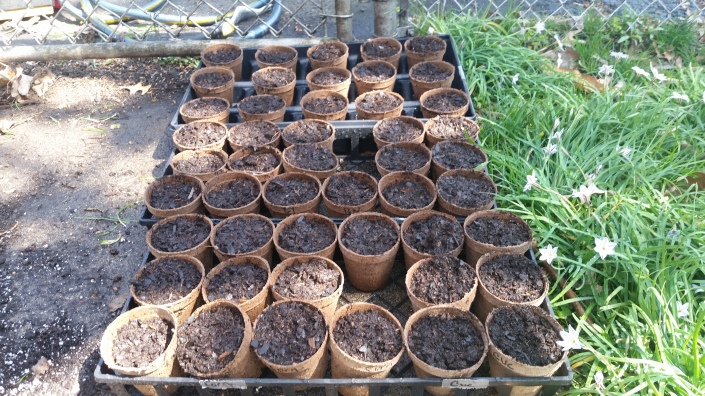
Then, the first batch of corn, cucumbers, green beans and beets got planted.
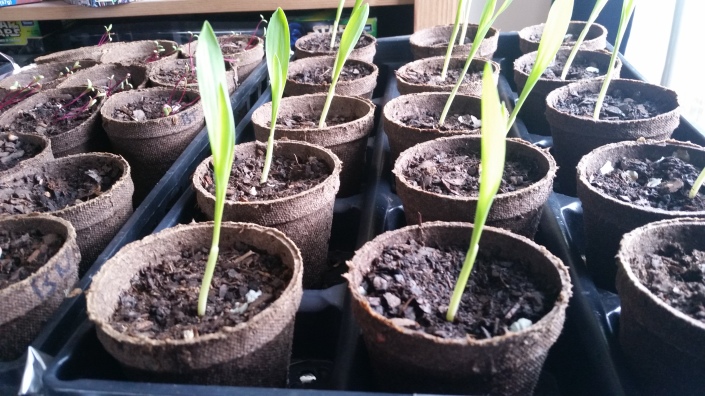
The seedlings stayed outside for a few days, but then an unfortunate cold snap came, and everything got moved into the guest room. The cold delayed the seedlings from sprouting, but around 2 weeks after planting, it began!


The corn seedlings had a 100% germination rate again. Cucumbers and beans closer to 80%, beets were at 100%. Overall within expected results.
Corn grows fast, within a few days of sprouting they were 6 inches tall, and they’re still growing fast.
Next Step: Getting the plants into the actual garden!
Building an Urban Garden Step 5: Planting
I want my very own personal cornfield. In case you were wondering, that has been the point of this project all along. So to start my very own cornfield, I bought a package of sweet corn seeds, and planted in a seed sprouting tray a week before I was ready to place them in the garden. Within 5 days, almost all of them had reached 3-4 inches tall.
To prep the section of the garden that was to become a corn field, I marked out rows that were a little over 2 feet apart, and placed the the plants ~10 inches apart in the rows. 3x spaghetti squash and 1x butternut squash got planted between the corn rows. They’ll provide cover to keep out some weeds. I’ve also slowly begun to plant various vine beans by the corn so the beans can climb the corn plans as they grow.

The next row is 3 sugar baby watermelons. These are a small, heirloom variety of watermelons that only require about 4 feet between them. It’s my first year growing these, so we’ll see how they do.
In the next row are 8 cucumber plants with radish seeds planted around them. Next to them are my fiancé’s one request for the garden–12 hot pepper plants. The hot peppers are a mix of serrano and cherry. I’ve found hot peppers do well in small spaces—they may not grow huge, but last year I filled a 12 inch pot with 3 plants, and they made a ton of peppers.


Five eggplants got planted in the row next to the peppers. 3 are classic eggplants, one is fairy tale eggplant, and another is a applegreen eggplant.
The 7 tomatoes are mix of varieties. They include a Custralee, an amazon chocolate, a mortgage lifter, a pineapple,and a carmello. Emily also gave me 2 cherry tomato plants, although I forgot the varieties.

I also planted a strawberry pot. They were on sale at a local nursery, so I thought “why not?”. I love strawberries.

Lastly, I planted some herbs. When it was done, I had 4 oregano plants–3 were survivors from last year, one came from a neighbor. I also had 5 basil plants (yes, I will use this much on a regular basis), 3 mints (orange, chocolate, and lemon balm), thyme, rosemary, and lavender. I don’t believe everything is pictured. The blue bin is my first attempt at a compost bin. We’ll see how it goes.

Next up: my endless battle with bindweed–a type of invasive morning glory which is causing me endless grief, and progress on the garden’s growth in the weeks since it’s been planted.
Building an Urban Garden Step 3: Dirt
Dirt. When you have a yard, you think you’re the queen of all dirt. Why on earth would you need MORE dirt when your empire is already full of it???
Well…as I found out removing grass from a 25 by 10 foot spot in my yard, when you dig up grass, it takes 3-5 inches of dirt with it. And this is 100 square feet of dirt that you’ll need to replace so that you don’t have a giant unsightly hole in your lawn.
So…off to Lowes!

In case you were wondering, that’s what $200 worth of soil looks like from Lowes. It took me 2 trips in a Ford Escape to get this home, and A LOT of help from the staff at Lowes with loading it all into my car (seriously, the staff at my local Lowes are ridiculously helpful. I love it there).
I got 33 bags (33sq feet) of a good mulch-y top soil, and 12 large bags of vegetable-specific garden soil (30 sq feet). I supplemented all of this with 6-7 additional bags of topsoil and organic garden soil we had lying around the lawn from other projects.
If you’re doing the math, you’ll realize this means I only got around 70 square feet of soil.
But don’t despair! I have 6 cubic yards of mulch in my driveway thanks to the city of Alexandria! That’s wayyy more than I need for this project (in fact, way more than I need for anything…anyone want some mulch???).

This is my dirt, in my garden.
Side note: I had wanted to try organic garden soil, but it came down to a cost issue—it cost me $80 for 30 sq feet of high quality vegetable garden soil I purchased, but it would have cost meat least twice as much to get the same amount in organic soil. I am all about organic gardening, but for a project this size the start-up cost is enormous, and wasn’t possible within my budget.
Building an Urban Garden Steps 1 and 2: Finding and Digging out Space
Hi, I’m Erin (aka schmerin from roofgardengal). And this is my first post about building my garden in Del Ray, Alexandria.
In years past I’ve done windowsill gardening in Arlington–mostly herbs like basil, oregano, and some ill-fated pepper plants, and last year I used containers to garden on my fiancé’s townhome’s back porch.
So moving on to this year—WE RENTED A HOUSE WITH A YARD! Did I tell you? It HAS A YARD! That gets lots of sunlight! So this is my first post on how we built our garden.
Step 1 and 2 of building a garden: Finding and Digging out a Space.
Task 1: Find a location. Our backyard is a decent size, but has some weird bushes, a shed, and an odd cement path. All of which we’ve been informed by the landlord cannot be moved. So we looked around for a spot that had four qualities:
- Wouldn’t be an eyesore for the neighbors.
- Got plenty of sunlight during the day.
- Large enough to be around 20 feet long and 5-10 feet wide.
- Was easy to block the dog from getting into.
The spot that fit all of these qualifications ended up being on the west side of the lawn, behind the shed.
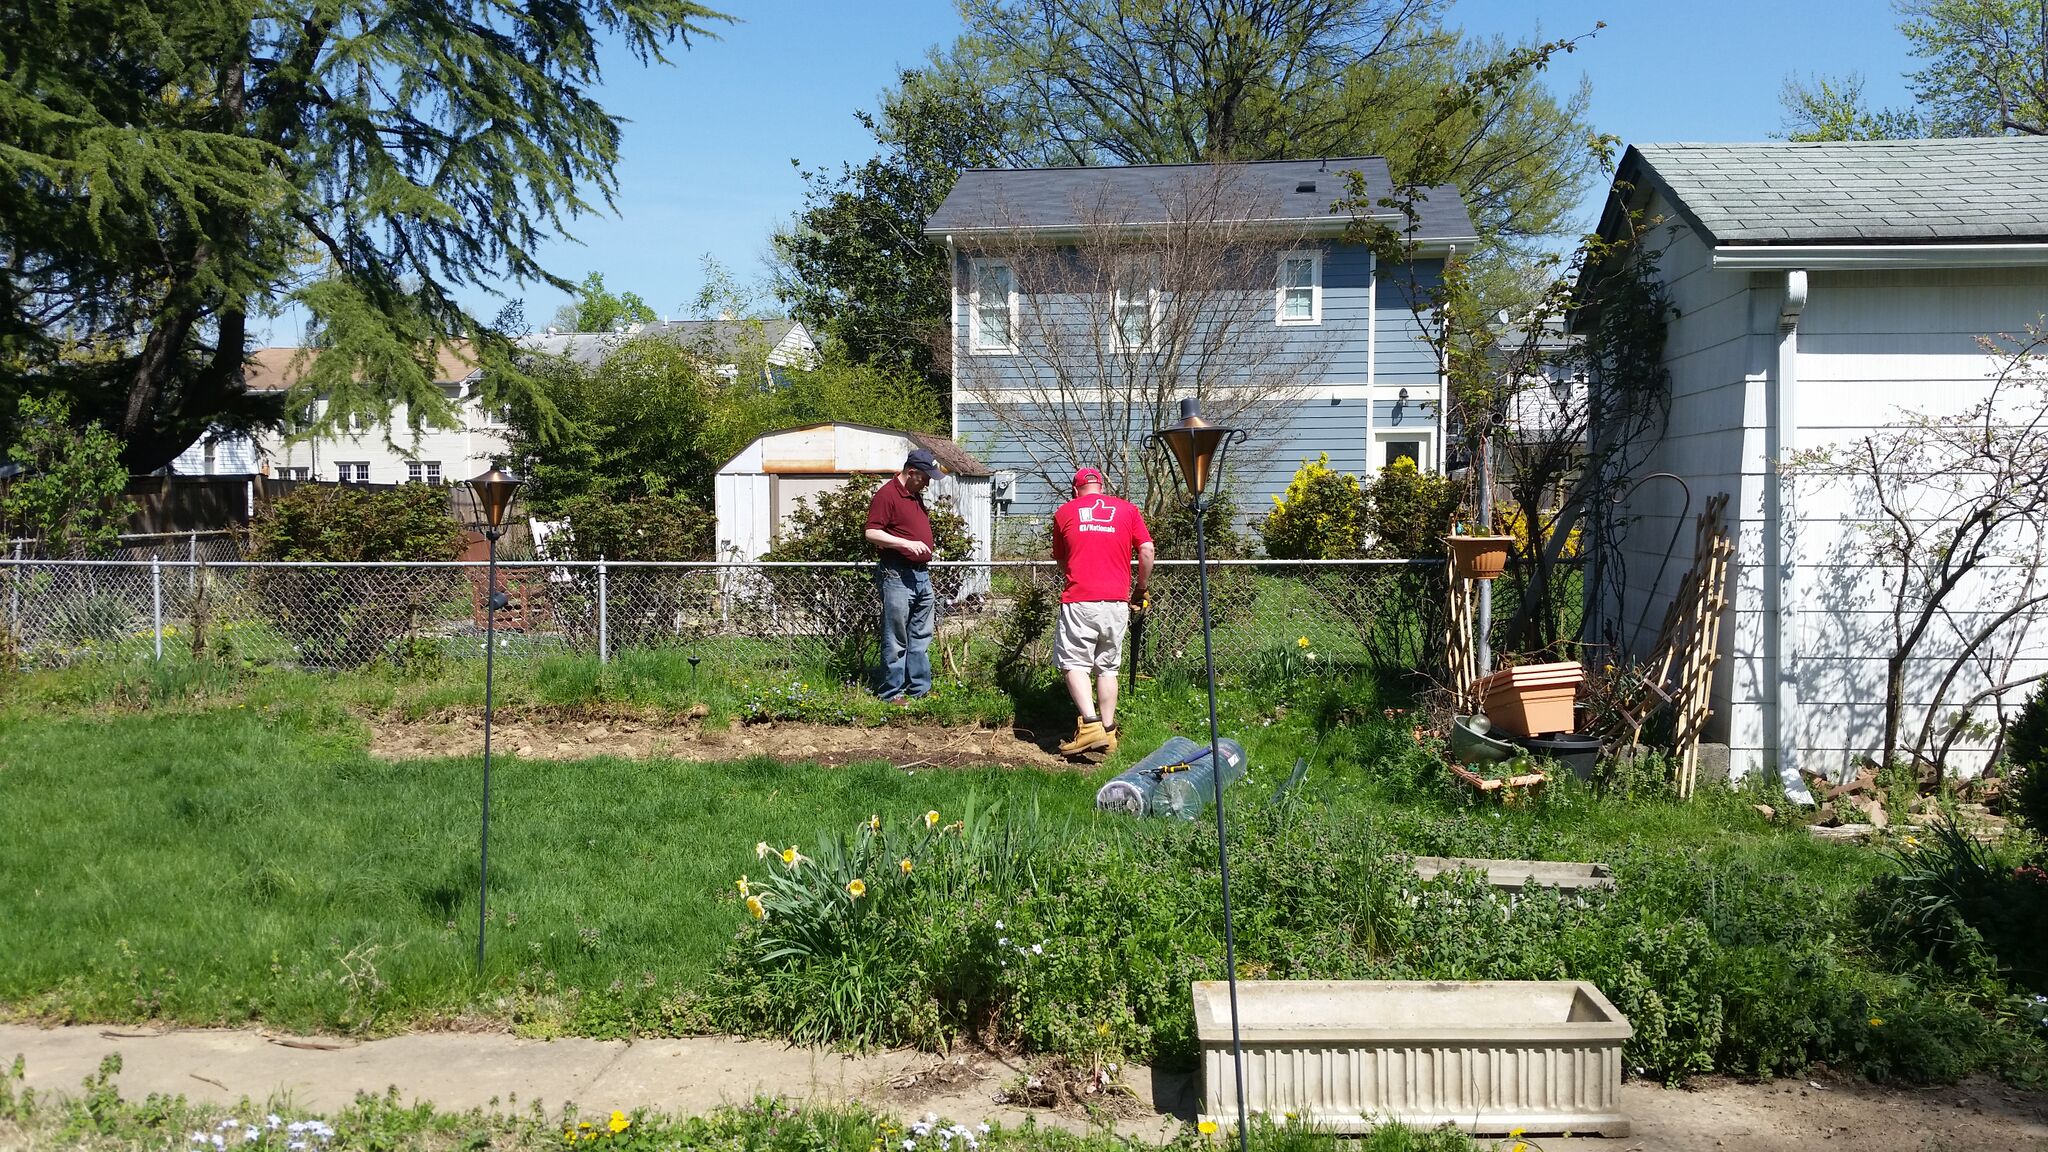
Task 2: Realize there is grass where the garden should be, but no grass in the center of the lawn (?!?!?). In case you were wondering, digging up and moving grass is really tough. Day 1 and about 6-8 hrs of work resulted in a 10×10 foot hole, and a nicely patched spot in the center of the yard.

Task 3: Add fencing. This step I’d actually recommend doing after digging the hole since the fencing blocks the shovel from getting to the right angles, but my fiancé and neighbor went ahead and did it at this point anyways. The green fencing is from Lowes, and is attached to 8-10 green stakes. It looks nice, and isn’t an eyesore for the neighbors. The gate was not built yet at this point. The total size of the fenced in space is 25 by 10 feet.
Task 4: Keep digging.
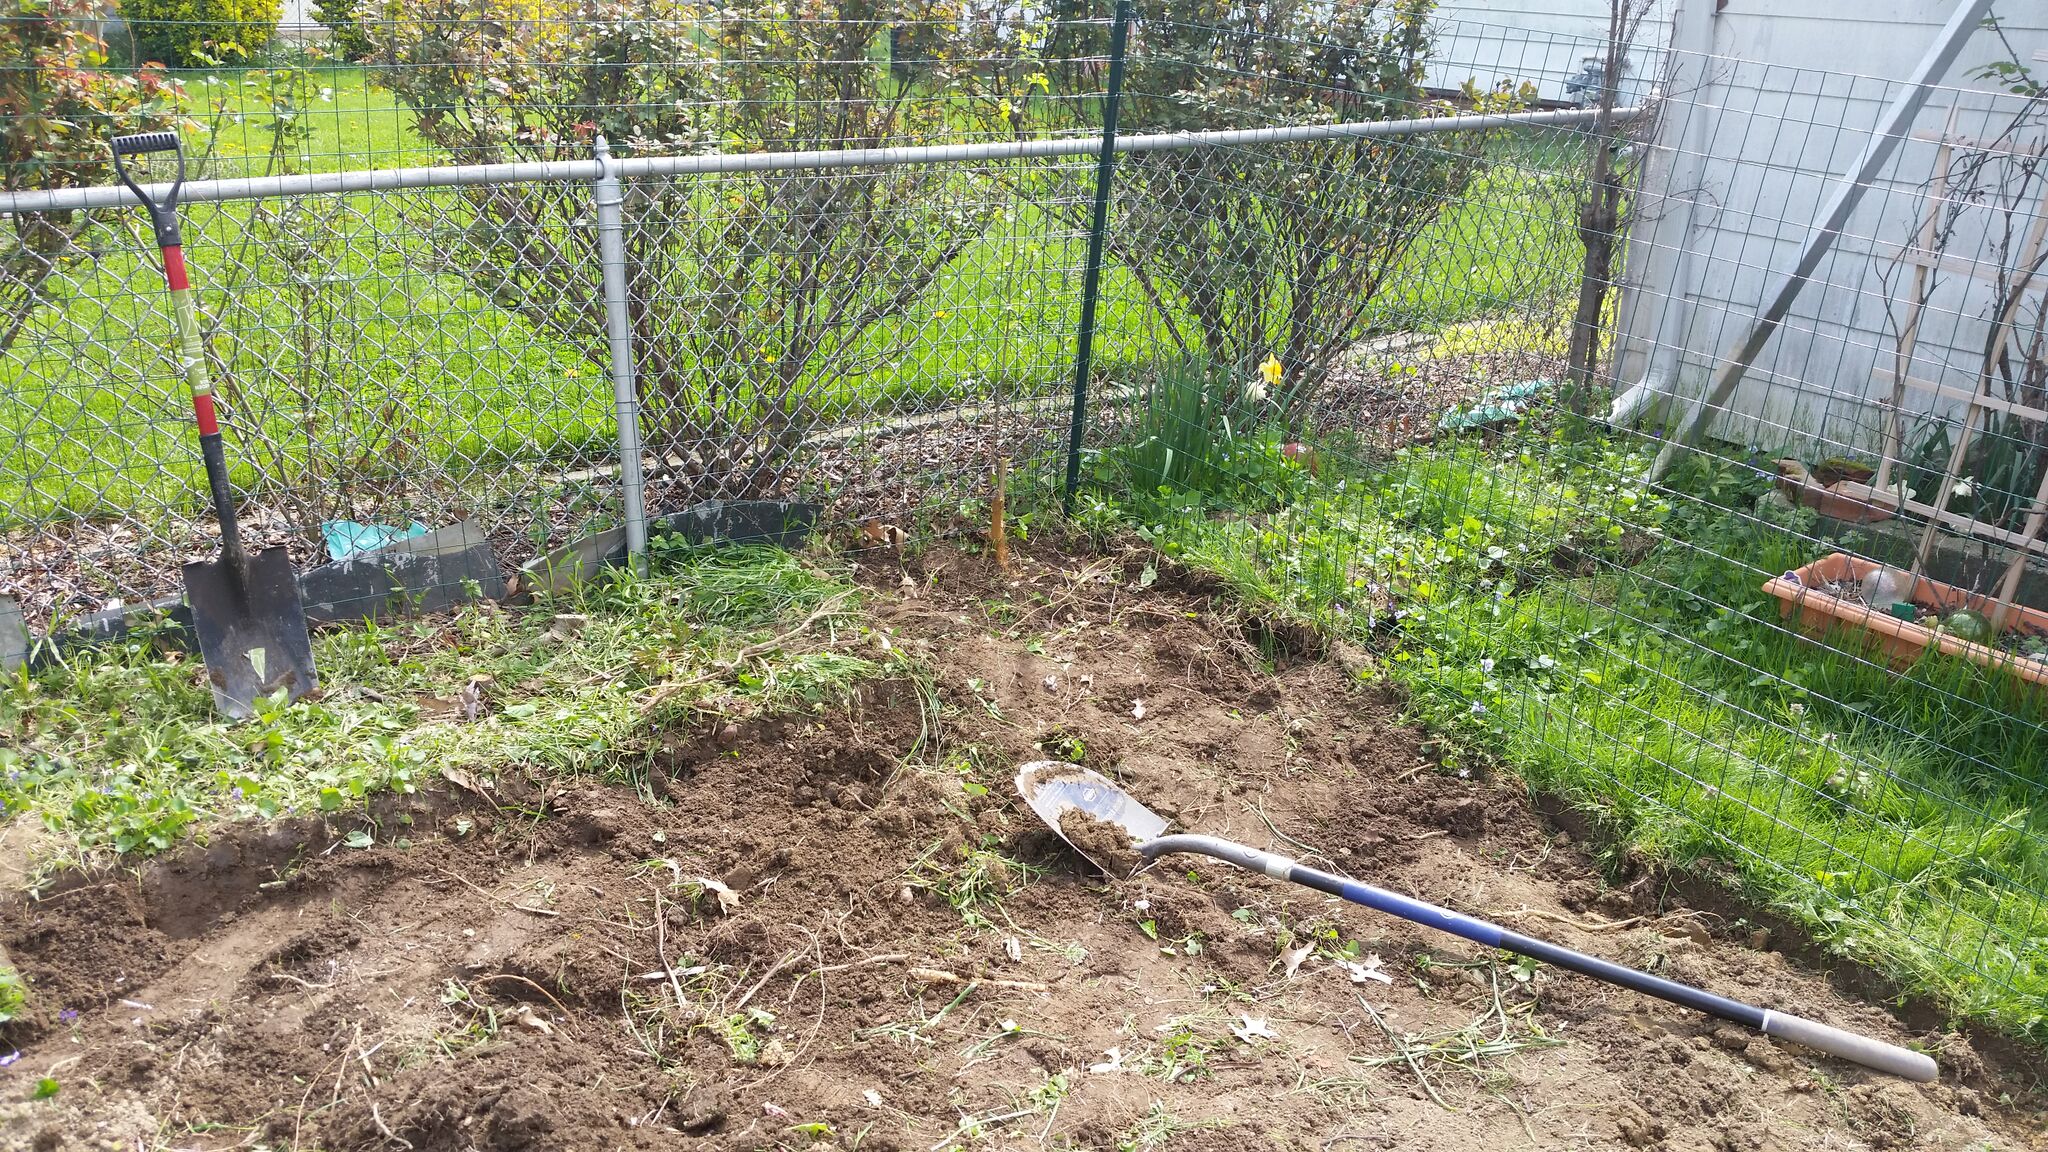
Task 5: FINISH DIGGING! Digging took 3 days of 6-8 hrs each, spread over 3-4 weeks. Digging up grass is really tough work, especially on 80 degree days with full sun, which seemed to be every weekend.

Next post…DIRT.
