Uncategorized
It’s Starting…
Planning for the 2016 garden has begun. This year will be a little complicated because we’re planning to move this summer once we buy a house somewhere in Northern VA. Since the exact dates are still unknown, I started seedlings a little early this year so that the main crops would be ready in June to July.
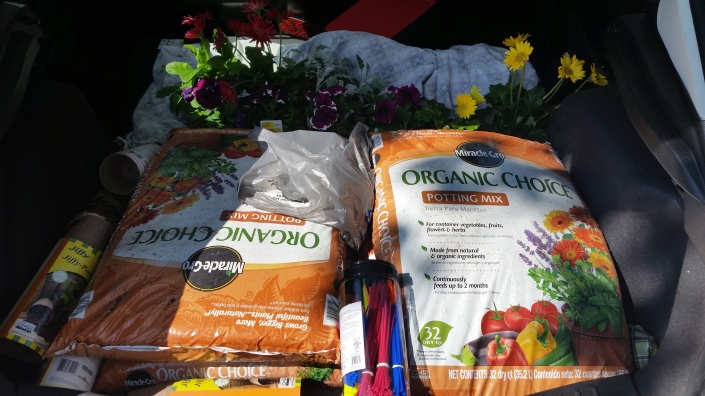
First step: Off to Lowe’s for some potting soil, Jiffy pots and other supplies. I went with Jiffy pots for seedlings this year so I can just plant the whole pot in the ground.
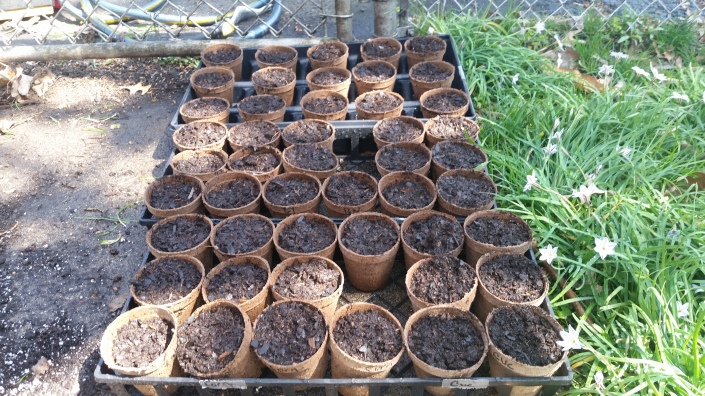
Then, the first batch of corn, cucumbers, green beans and beets got planted.
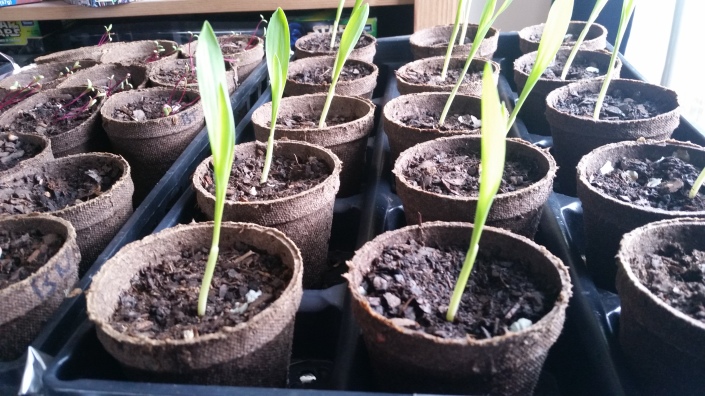
The seedlings stayed outside for a few days, but then an unfortunate cold snap came, and everything got moved into the guest room. The cold delayed the seedlings from sprouting, but around 2 weeks after planting, it began!


The corn seedlings had a 100% germination rate again. Cucumbers and beans closer to 80%, beets were at 100%. Overall within expected results.
Corn grows fast, within a few days of sprouting they were 6 inches tall, and they’re still growing fast.
Next Step: Getting the plants into the actual garden!
2015: Final Result
My 2015 garden did well. Almost too well. Between managing the garden, doing 60-75 mile bike rides on the weekend, and planning for my wedding, I dropped the ball on updating this blog. The garden took a few hours to a full day every weekend, plus at least one mid-week session to pull down invasive bind-weed.
This was an average daily haul starting in July.
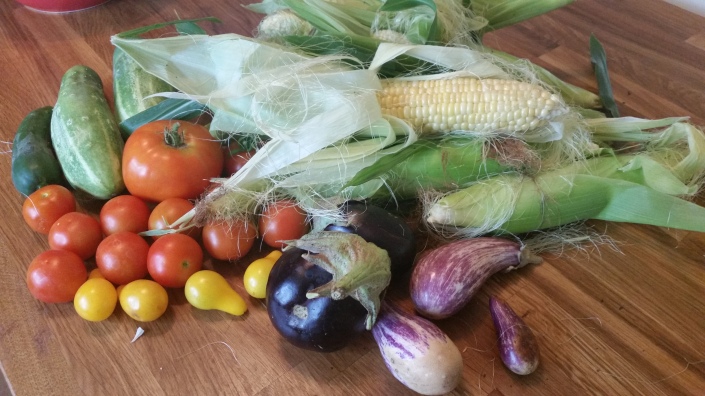
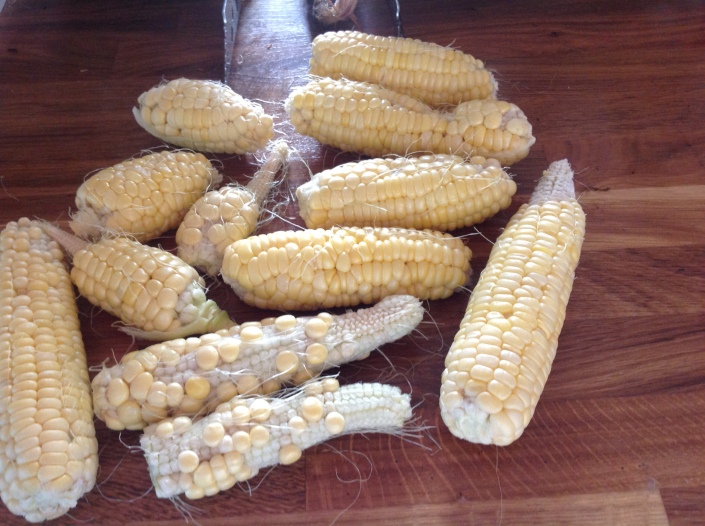
The corn lasted 2-3 weeks, I got around 60 ears (40 plants with some producing 2 ears). Around 75% were well formed, the rest were franken-corn, and got boiled and frozen. This is just due to them not getting fully fertilized.
The tomatoes and cucumbers lasted until late August, when our house-sitter forgot to water the garden for the 2 weeks we were out of town for the wedding. Whoops. Some of the tomatoes survived, but the cucumbers were fully killed.
Here are some final pictures:


Lessons learned for next year:
- Cucumbers take over the whole garden, so next year I may plant less. I ran out of ways to eat 4 cucumbers a day, and this is coming from someone who loves tomato-cucumber salad.
- Tomatoes need deeper soil. Mine did well, but not awesome. The 2 I planted in deeper soil produced buckets of tomatoes. Same holds true for carrots.
- I don’t need 6 hot pepper plants. 4 would be sufficient for my needs.
- Weed often. When I’d miss a week the bind weed and bermuda grass became almost uncontrollable.
- Corn fields are awesome!
Step 4: Designing the Garden
I have dirt, mulch, and a hole in the ground surrounded by a green fence. So now I need to design the garden!
My original intent was to do a 10×8 corn section, and five 1 ft horizontal rows of various vegetables in my garden. So to start, I used 70 feet of black landscape edging to line my hole. I just set it into the hole, and staked it so it stayed put. The dirt I later used to fill in the garden holds the edging in place. Then I began marking off the areas I wanted to plant veggies in, using black garden edging. I bought plenty of extra stakes for this process, and I had a good mallet for getting the stakes in.

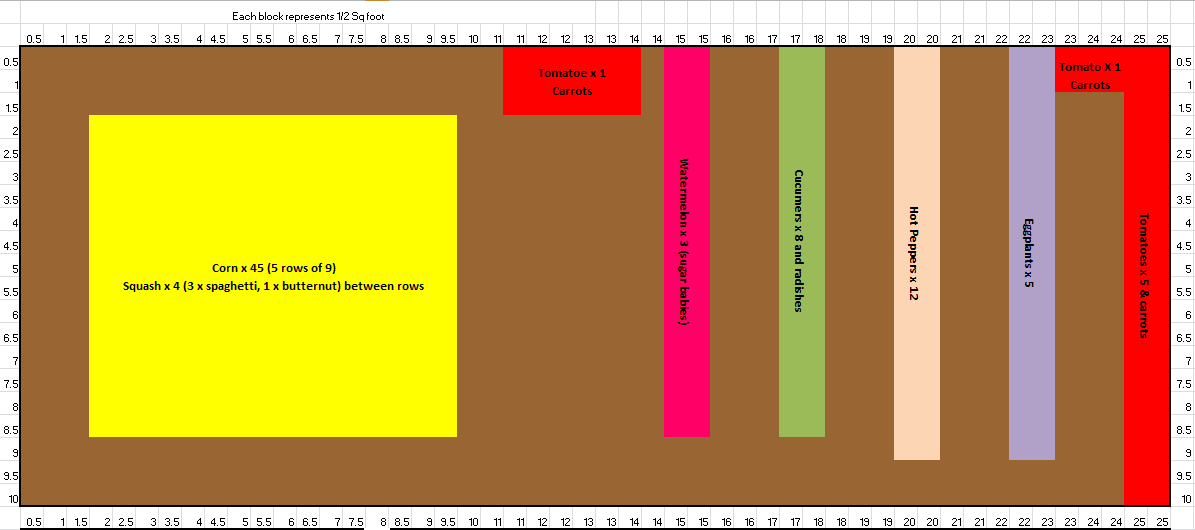
When I actually began laying everything out I realized I needed my paths to be closer to 18 inches wide (vs the 12 I originally allowed for) so that I had adequate room to maneuver between rows. When I did this, I realized that horizontal rows didn’t fit right. So I switched it over to an 8×8 section of corn, and 5 vertical rows that vary between 8.5 and 10 feet long, depending on the location. I also added spots for the 2 additional tomatoes Emily gave me. I did not install the rows very straight, even though I did my best with the tape measure, but they’re functional.
Now that the edging is set, the dirt got released! I emptied the 26-27 bags of topsoil in the walkways. Then I emptied the first 6 bags of garden soil into the planting sections. This led to about 2 inches of dirt everywhere. At this stage, I went and got about 8 wheelbarrow fulls of mulch from my driveway. Mulch is great because weeds have a difficult time growing through it. I emptied the mulch on the walkways, which raised them up another 2-3 inches. I pulled the edging up a few inches, and filled the planting sections with the remaining garden soil. In the end, there is about 4-5 inches of soil/mulch everywhere.

Within 36 hours,my garden went from “unsightly hole in the lawn” to “GARDEN!”.

